ActiveCampaign Integration instructions
Step by step guide
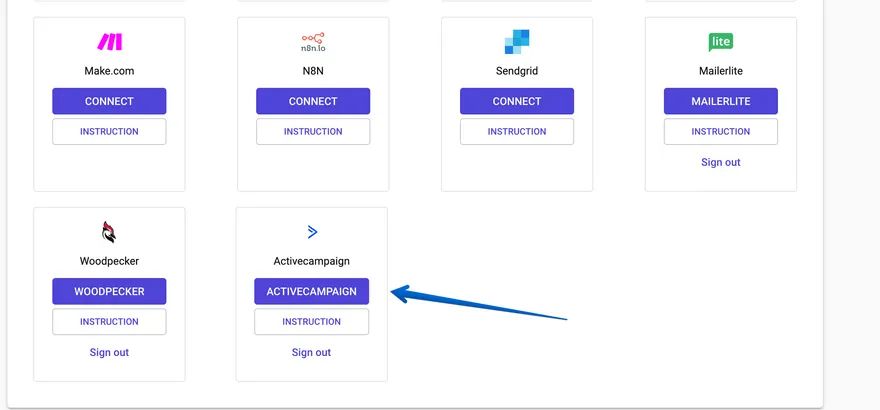
Step 1
- Go to integration page
- While clicking the “ActiveCampaign” button, you should know you already have an account.
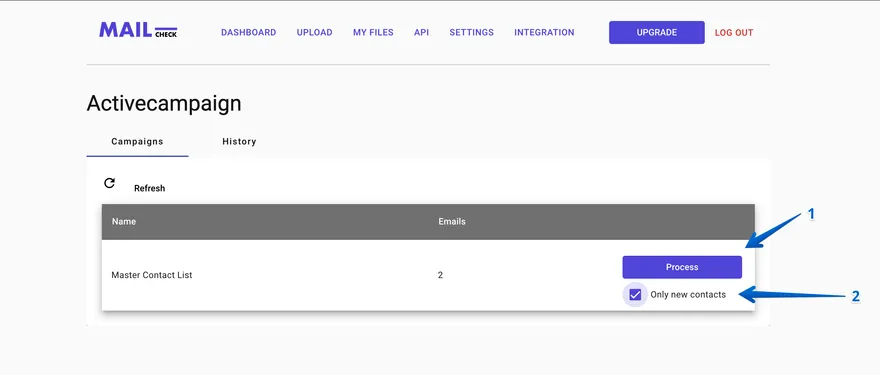
Step 2
- You will see the screen and the button called “Process”
- Underneath the button will be a checkbox called “Only new contacts” so if you have new contacts to validate, please press it.
- “NEW” applies to the scenarios when a user has validated previously and requires a new batch to be validated without touching old batch.
- However, if there are no new contacts you do not need to choose the checkbox, you can leave it unselected.
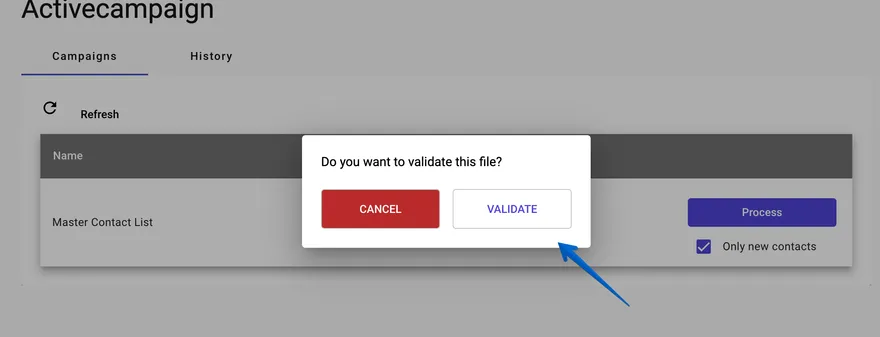
Step 3
- When you click on “Process” the pop-up screen appears with 2 buttons, “CANCEL” and “VALIDATE”. If you want to validate your emails, click “VALIDATE”.
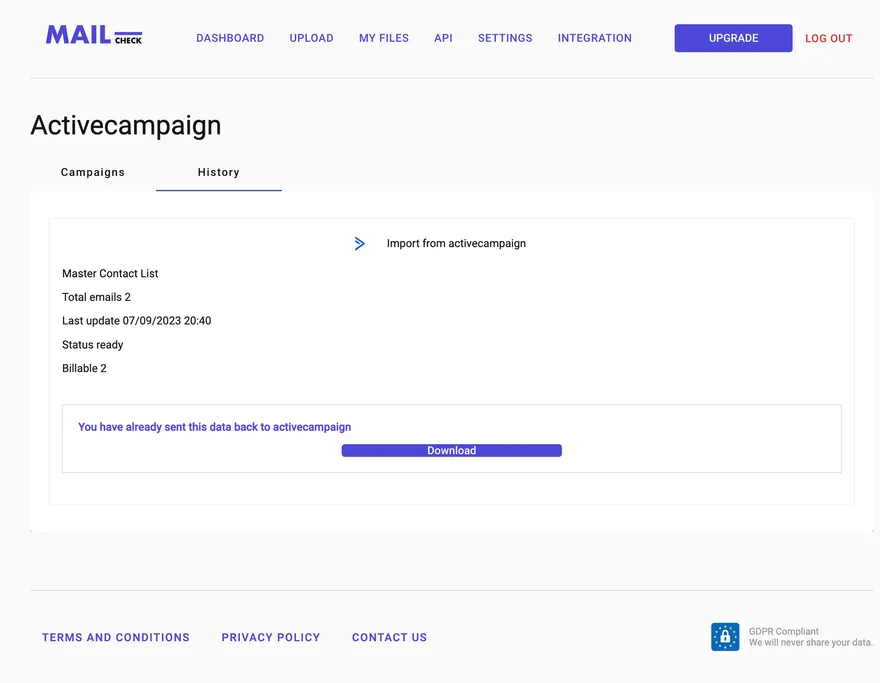
Step 4
- When your validation is finished, you will be able to see this screen
- It means your validation was completed successfully
Step 5
- Then to check if your contacts are valid, you need to go back to the contact section and there you will be able to see whether your contacts are valid or not after your validation is done
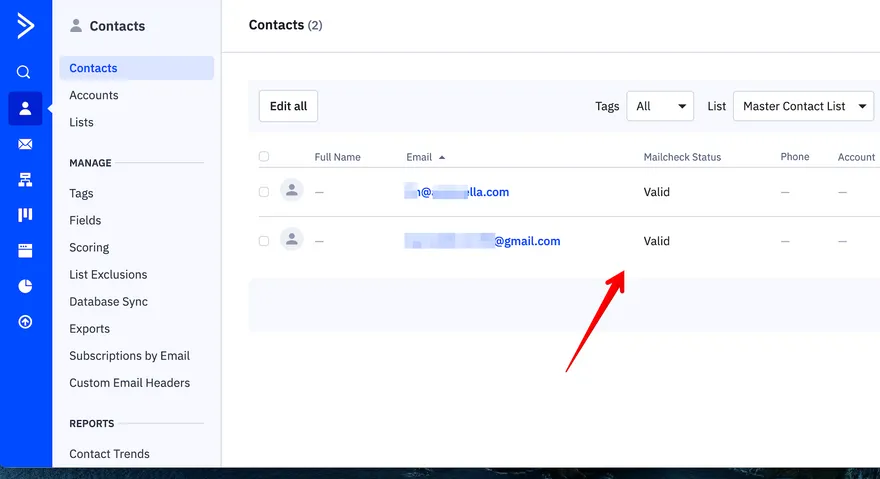
Your integration is fully working now.
Other popular integrations guides: Mailchimp, Woodpecker, MailerLite, Make.com, SendGrid, Zapier.