Integromat Integration instructions
Step by step guide
Step 1
- Open Mailcheck Integrations - https://app.mailcheck.co/dashboard/integration and click “Connect” you will be redirected into “Integromat”
Step 2
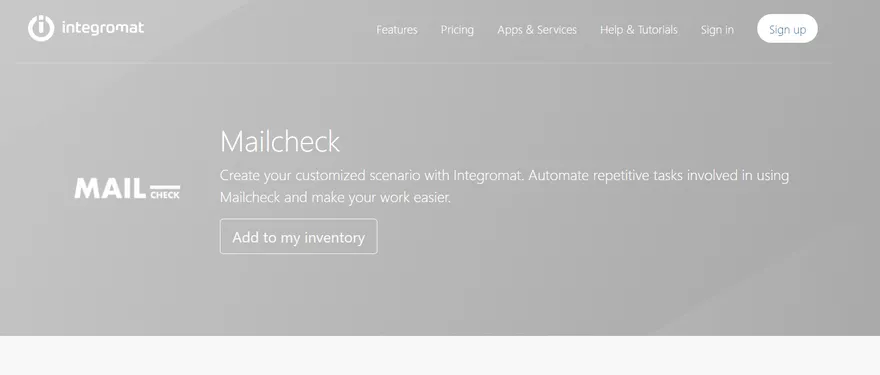
- Click “Add to my inventory” and follow the instructions to “Sign up”.
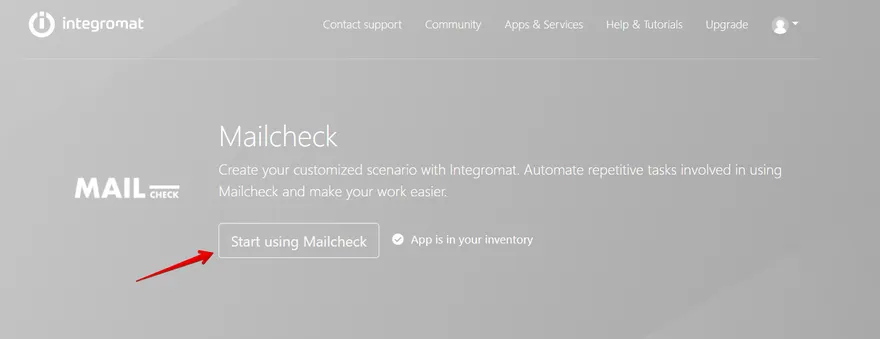
- Once signed up you can “Add to my inventory” our app and click “Start using Mailcheck”.
Step 3
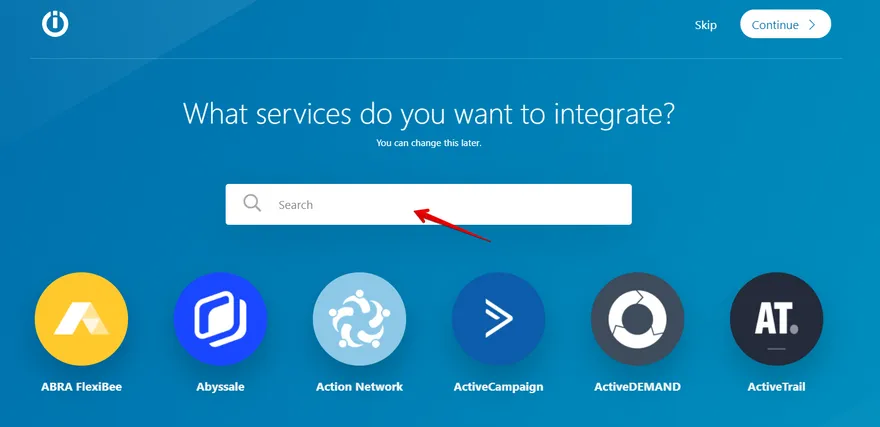
- Choose the service you want to integrate with (Mailchimp, Google Sheet, ActiveCampaign, etc.)
- Once chosen click “Continue”.
I am going to use “Mailchimp” as an example, however, you can use any of the existing apps based on your preferences.
Step 4
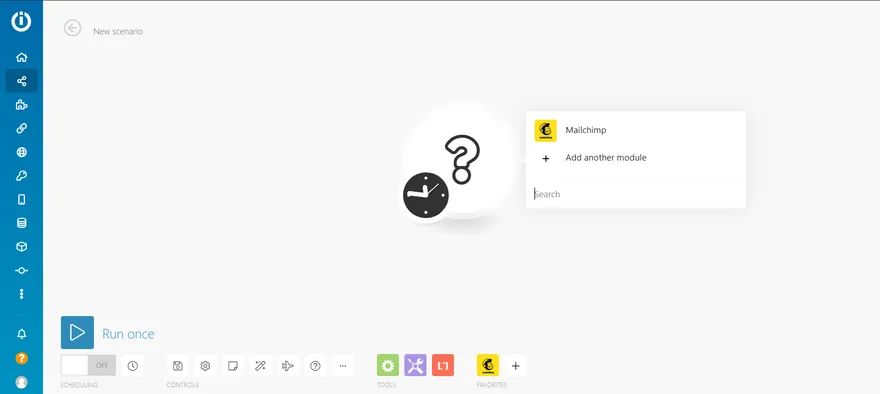
- Click on the sign of Mailchimp or any other app you are using, and find “Get a list”
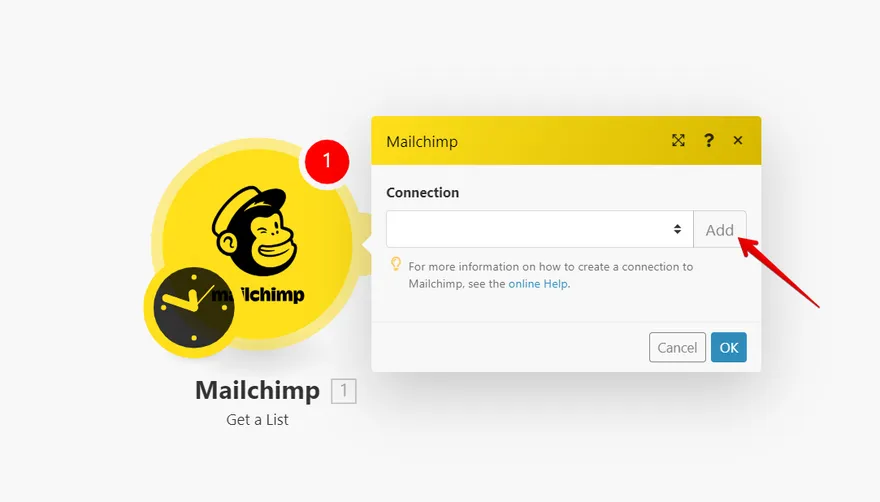
- Now, set you your Mailchimp account
- Follow the next steps to authorize your Mailchimp account
Step 5
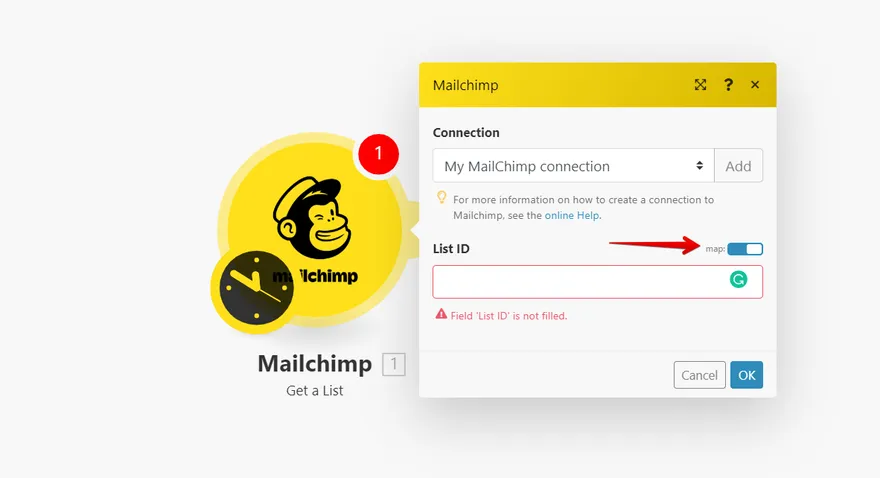
- Once authorized, deactivate “Map”
- Select your List (usually named under the name of the audience)
Step 6
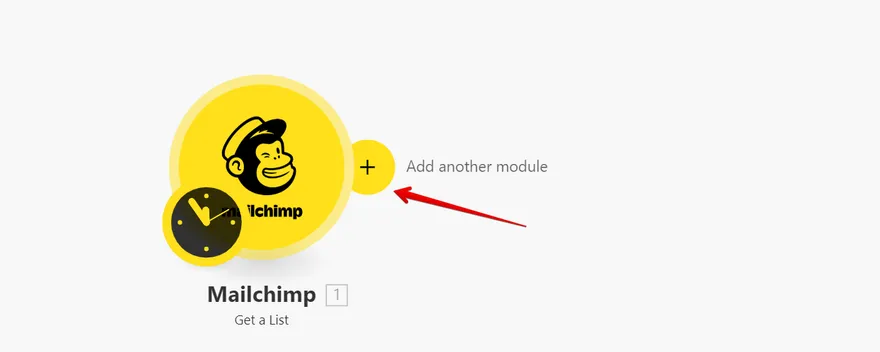
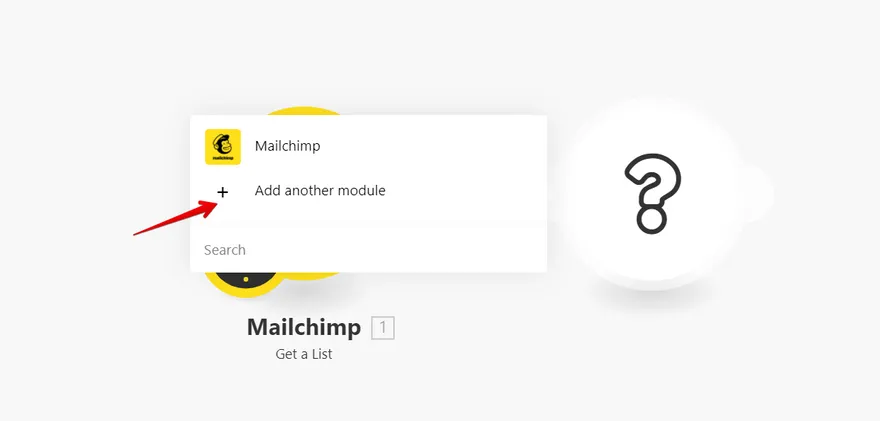
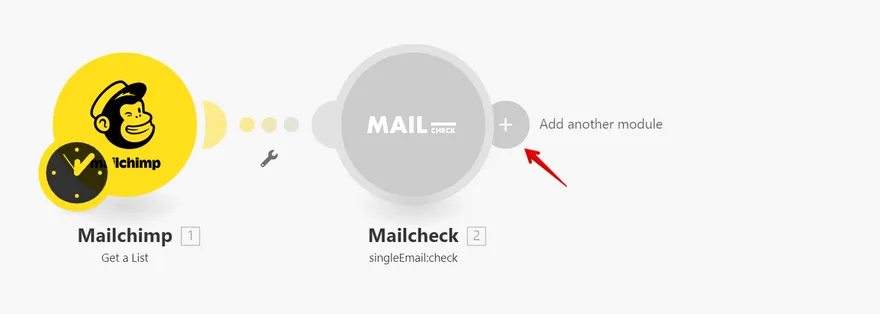
- Add another module
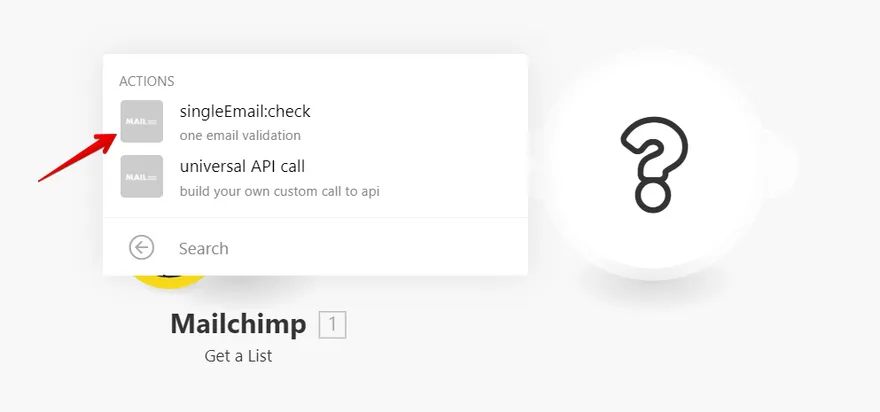
- Find Mailcheck to connect with the previous module
- Click on ”+” and type “Mailcheck”
- Choose “Single Email check”
Step 7
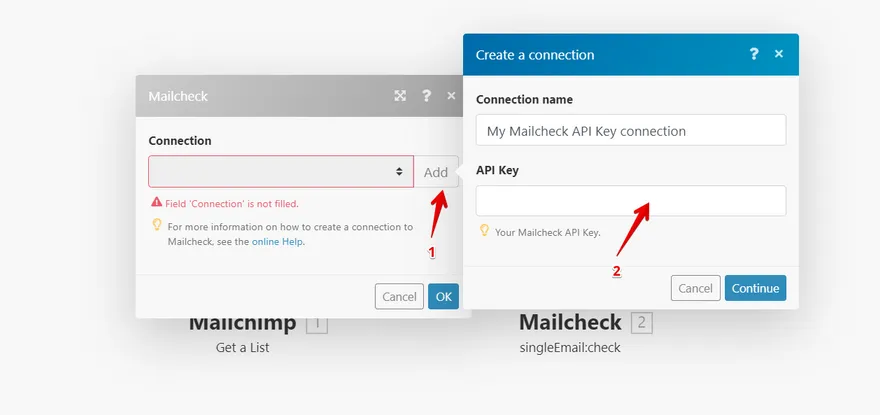
- Click on “Add”
- Go to your Mailcheck account and click “API” from the Top menu
- Copy your API KEY and get back to Integromat to paste it
Step 8
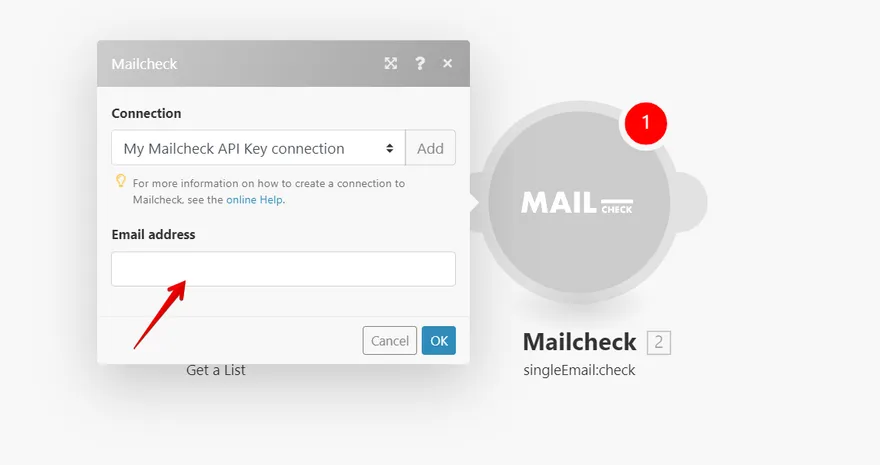
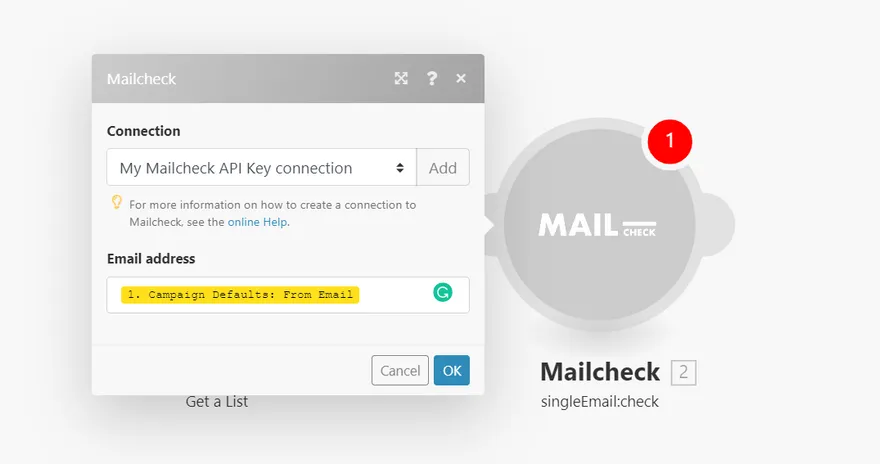
- Choose “Email from the modal window”
- And now we want to update our segment pasting “Mailcheck Trust rate” to define the validity of the email
Step 9
- Adding another Mailchimp Module
- We need to choose “Mailchimp” again
- And from the Modal window “Add/Update subscriber”
Step 10
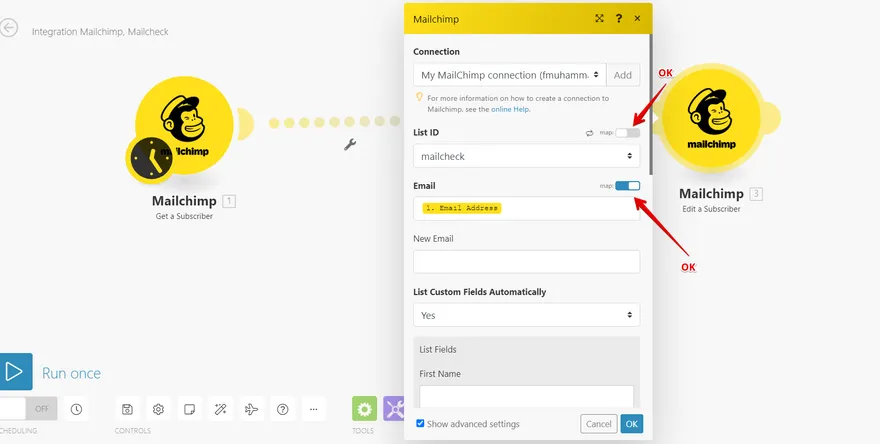
- Choose your list from the dropdown menu and make sure “Map” disabled
- Choose on the “email address field “Email address” however, make sure the Map is “ENABLED”
Step 11
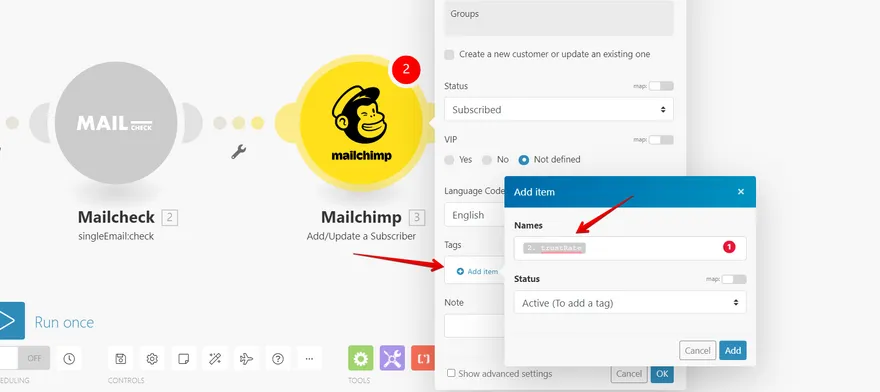
- Set tag
- Choose “trust rate” from the modal window option
Step 12
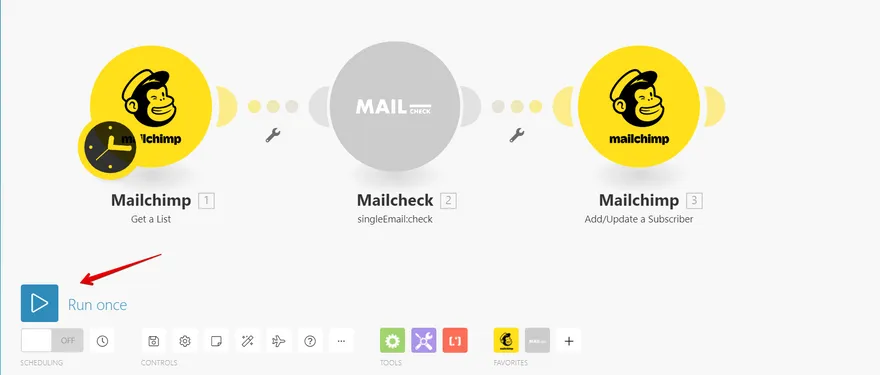
- Run once
And your integration is fully working now. If you can’t make it work, please reach out at integromat@mailcheck.co
Other popular integrations guides: Mailchimp, Woodpecker, MailerLite, Make.com, SendGrid, Zapier.
